Creating a 250v, 12V and 5V powerbox
- Details
- Category: Completed
- Published on Friday, 12 August 2011 15:42
What is a powerbox?
 |
As a scout and a gadgeteer, I have for a long time wanted a portable powersupply. Often I need mains power to run some equipment or other in the middle of nowhere and have none. I do have a small 2 step generator, but is is fairly noisy and have too many powerspikes for finer electronics. In addition, my poor excuse for a workshop is in a place where i am not permitted to set up power, and it is often needed.
Therefore I decided to build a "powerbox". That is, a battery powered box that would provide both 250v, 12v and 5v.
It is a fairly trivial build, and basicly just consists of a wooden box, some switches and a 250v inverter. Nevertheless the box has proved extremely usefull and is often used.
First, i cut the wood for the box. The pieces are cut as to allow a standard sized 60Ah carbattery to fit snugly inside along with a 250V inverter underneath.
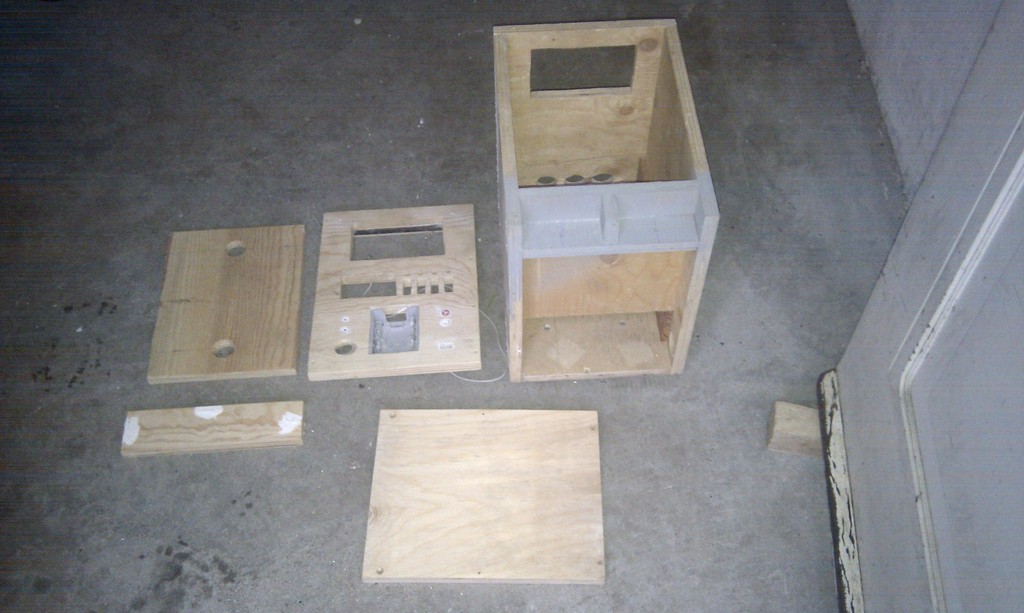 Cutouts for the box Cutouts for the box |
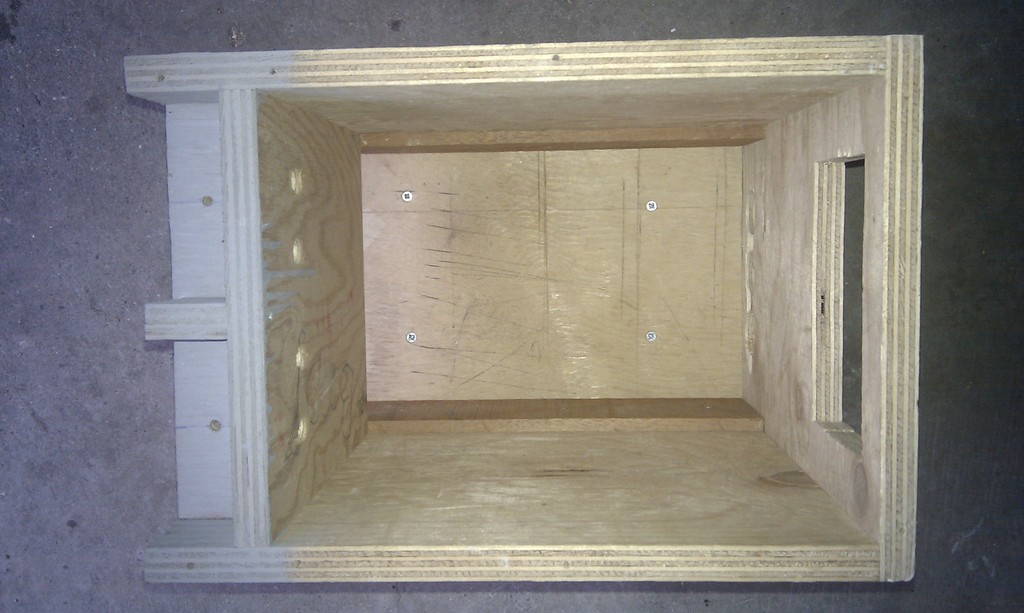 The box from above The box from above |
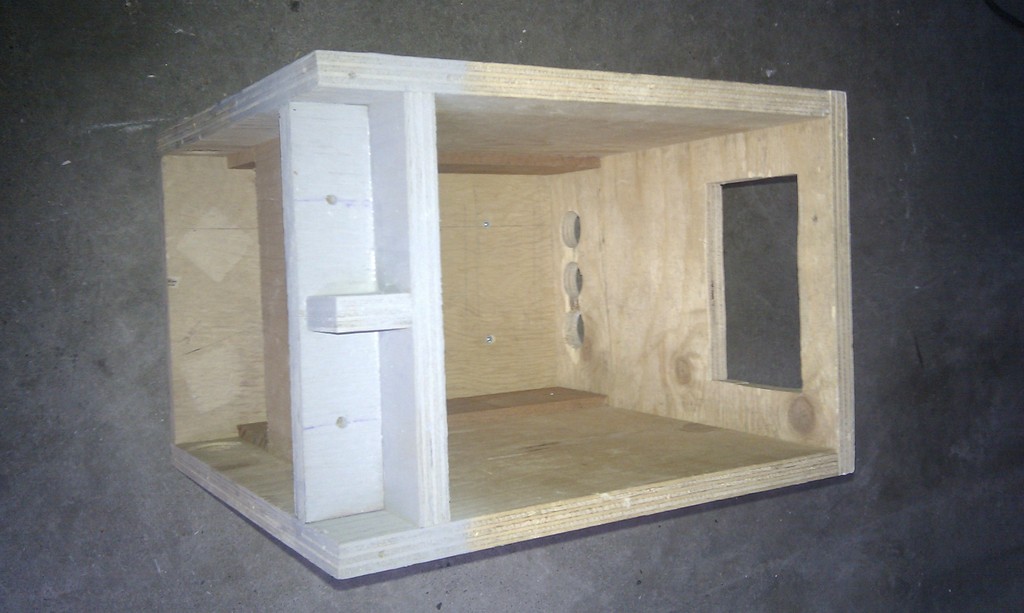 Tilted view Tilted view |
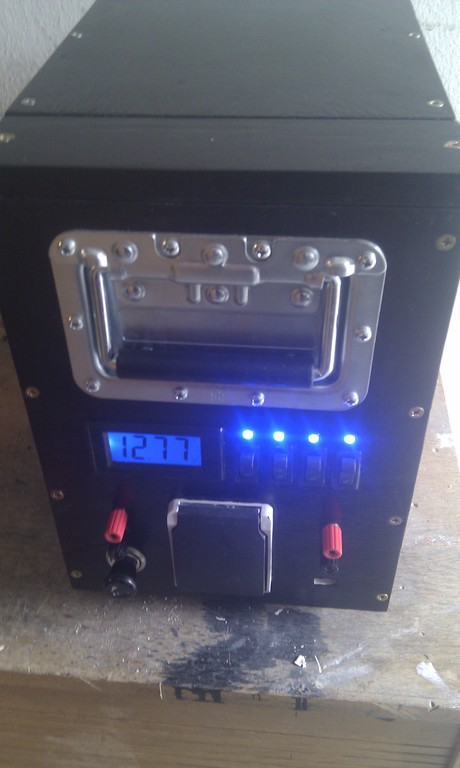
After that the front was made. As you can see in the left image above, the 250V house is mounted on the faceplate. Also a voltmeter has been added, so it is possible to determine when the battery should be charged.
12 and 5 volt
Though the faceplace is unmarked, the terminals on the left side provides 12 volt, and those on the right side 5 volt. As 12 volt is often needed through a car lighter plug for smaller acessories, one of these has been added. In addition to the 5 volt terminals, a standard USB plug has been added to charge gadgets.
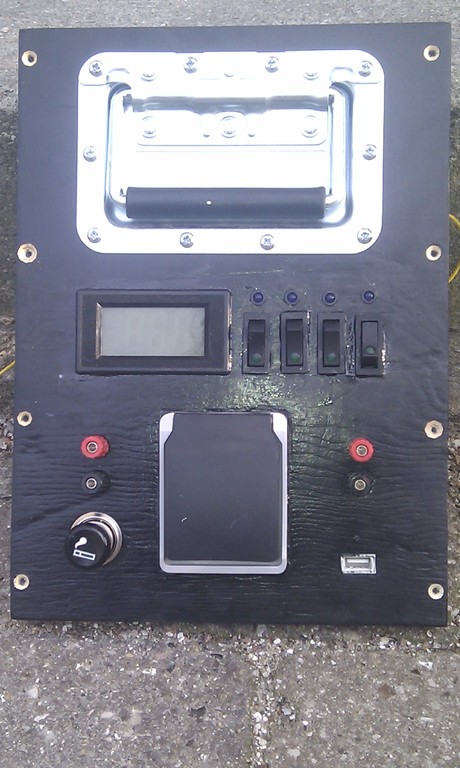 Faceplate Faceplate |
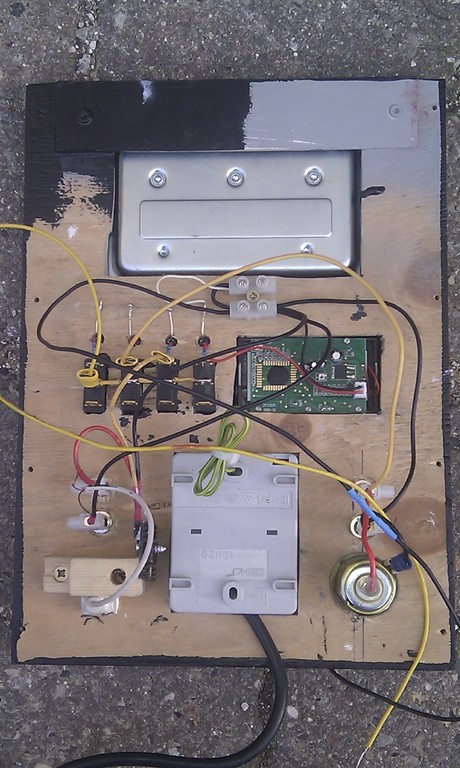 Faceplate from behind Faceplate from behind |
The 5 volt is generated from the 12volt through a standard 1 Ampere LM7805 power regulator with a heatsink. I am aware that I this could be done in a prettier fashion, but at this time in the project I just wanted to be done with it.
The switches has the following functions from left to right:
- Toggle Voltmeter
- Turn on 220v
- Turn on 12v + Lighter plug
- Turn on 5v + USB power
Adding 250 volt and charge poles
As can be seen, the 250 V inverter is placed in the bottom of the box. On either side of the box, a thin board has been fittet, that will cary a "lid" over the inverter. This lid functions as a floor for the battery, and it held in place, except for the weight of the battery.
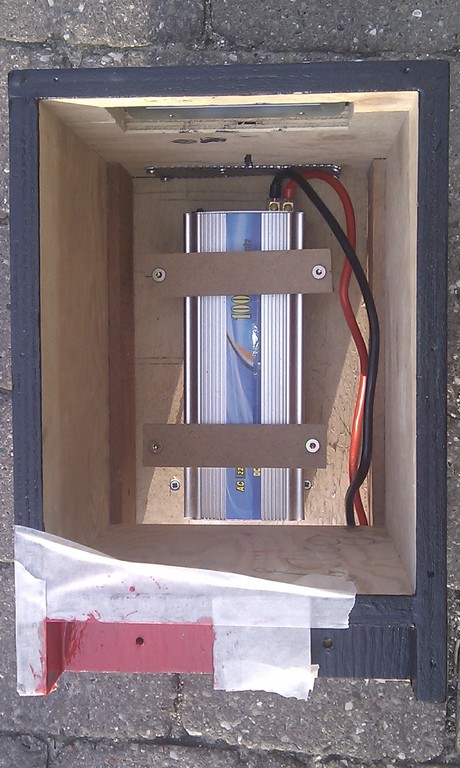 Inverter fitted Inverter fitted |
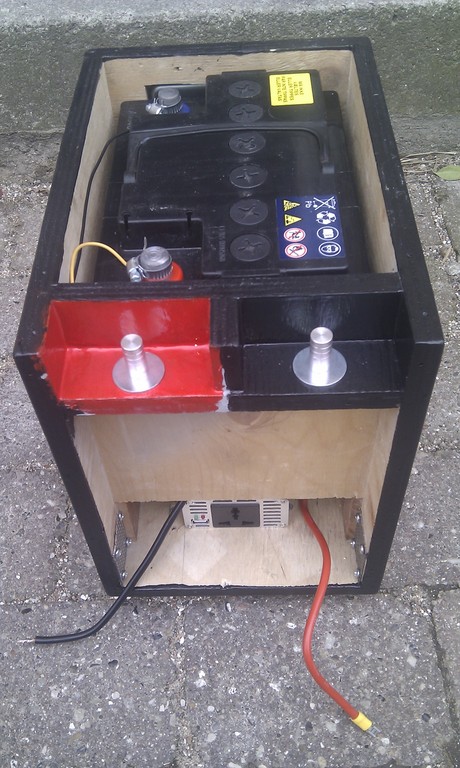 Chargepoles and battery Chargepoles and battery |
In order to provide the inverter with decent ventilations, three ventholes has been added in the back of the case and two i the sides near the front. These are lined with thick metal mesh so dirt is (mostly) kept out.
In the front top, two "charge poles" (the metal thingies) has been added. They are there because the lid of the box has been secured tightly. It would have been unpractically if you had to remove the battery every time you wanted to charge the box. The two metal poles are btw. ordinary IKEA towel hangers and a pair of big washers. They are made of steel and can be tightly fastened, and so are ideal for the job. The front of the box lid is fastened with a pair of hinges to the charge poles can be reached.
Testing and evaluation
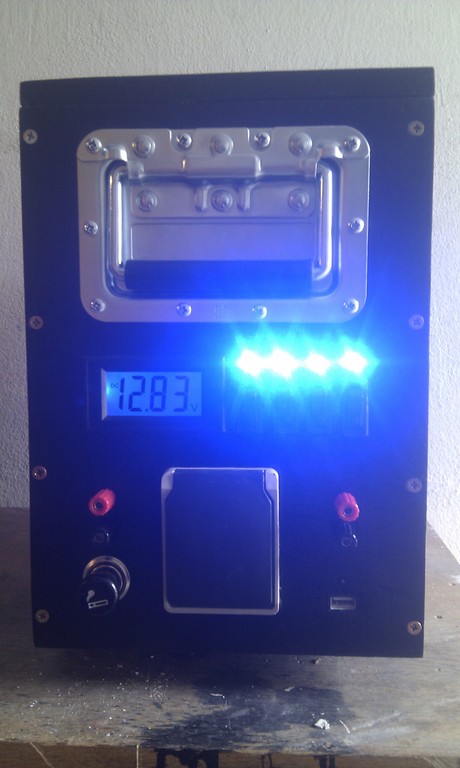 Finished powerbox Finished powerbox |
I am fairly satisfied with the box and the way it performs. I could, however want a better inverter as i have a sneaking suspicion that the rating is wrong. It is rated for 1000W continous work, but more than a few minutes of work with a 700W powerdrill and it auto-shuts-off. For everyday use - boomblasters, portable computers, soldering irons and a 500W coffeemachine it's perfect. I am, however considering replacing the fan in the inverter as it makes a lot of noise.
If anyone would like to repeat the project, i would urge them to add the voltmeter. It has proven extremely valuable and i do not risk ruining the battery. Also consider adding a few more USB ports. People are always running out of cellphone battery.
The terminals for 12v and 5v are extremely usefull... Somehow i always have some things that need low voltage. Remember to go for terminals that have a hole through them vertically so you can fasten any kind of wire to them.
A final note goes to the caryinghandles on front and back of the case. I chosed some heavy duty flightcase handles. A car battery is quite heavy and you do not want handles that will cut your hands. These handles does the trick perfectly.