Raft from a waxed groundsheet
- Details
- Category: Completed
- Published on Sunday, 09 October 2011 14:10
Why build this stuff??
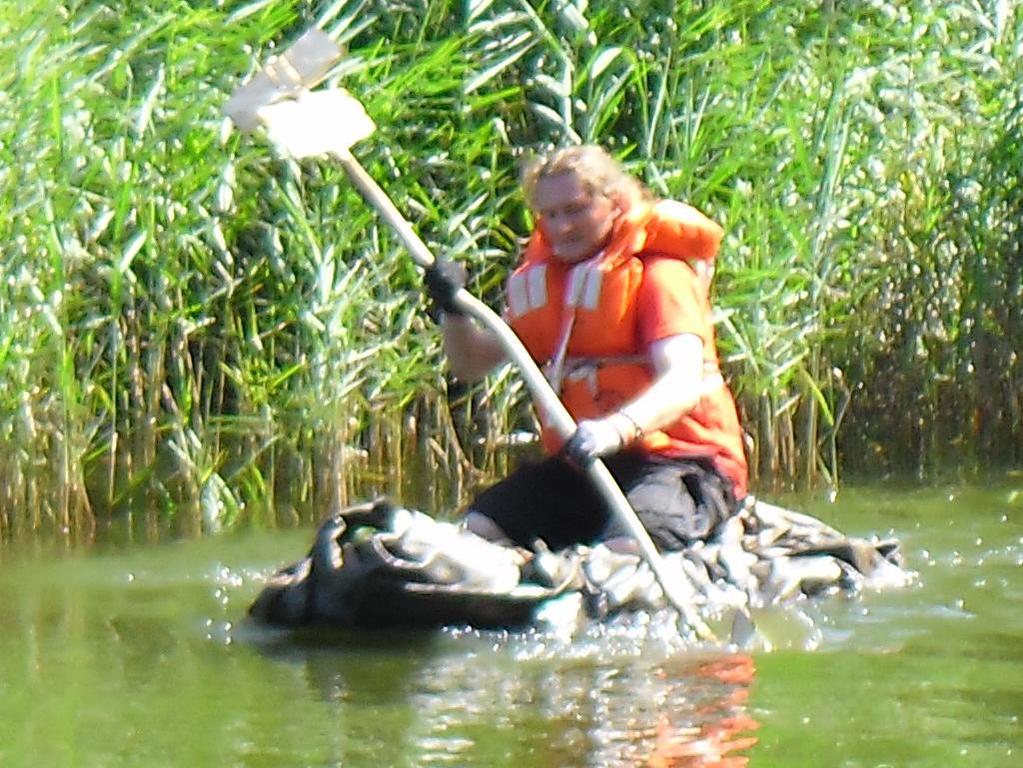 Sailing merrily Sailing merrily |
Every year scouts from all over Denmark compete in building and sailing homemade rafts 10 km on the Mill River. The event is called "Mill River Rafting" (dk:Mølleåsejladsen), and scouts are supposed to build their raft in two hours.
They are only allowed to use a tarp, hand tools, rope and whatever they can find in the forrest. Normally scouts use factory made industrial grade tarps that is cut to a special shape. This, year (2011), however, it was Mill River's 50 year aniversory, so a few of us figured that we would compete in same fashion our grandparrents did back then.
50 years ago they did not use tarps but waxed groundsheets from tents. Therefore we Waxed a groundsheet and tried to make a normal fashioned boat. Old instructions always depicts a raft as a donout shaped boat, but we had tried this so many times and knew that long thin boats sailed faster. Therefore the instructions below are for such a boat.
Preperation and materials
Before you get going there are a few basic materials I surgest you get:
- Working gloves
- At least two different axes - one normal handaxe and the other midget sized
- Thin rope
- Hand saw
Needless to say every tool has to be sharp.
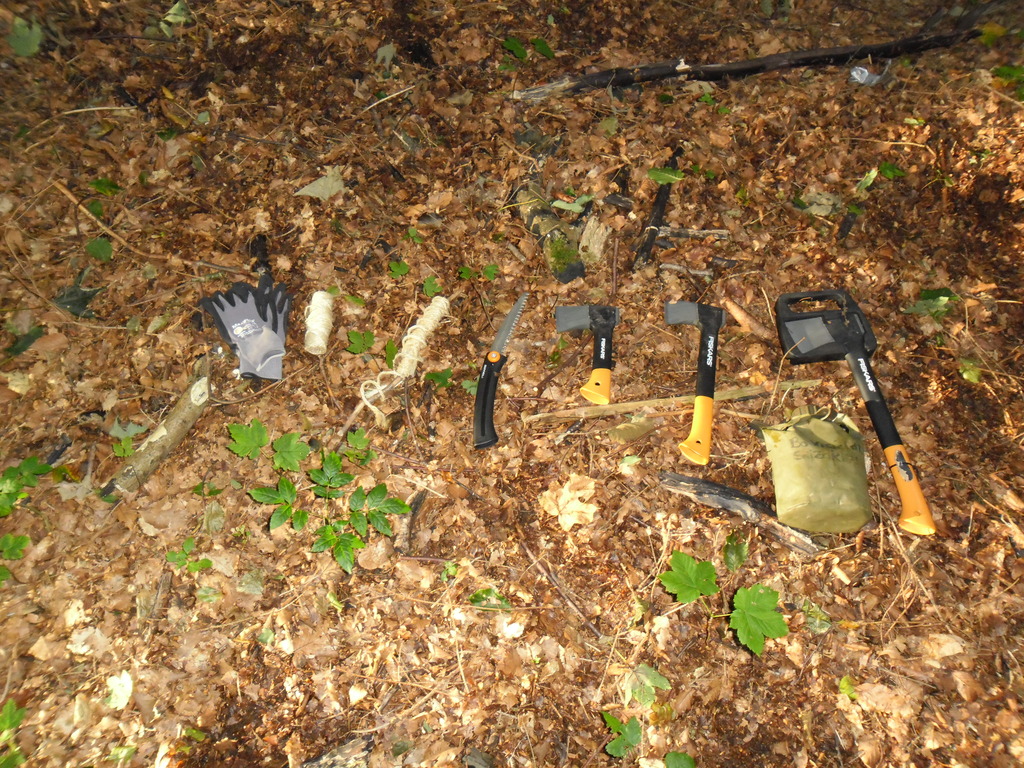 Tools of the trade Tools of the trade |
Building a raft is fairly easy (when you have tried it a few times). The key is to keep in mind that it is not wood and twigs that holds you above water - but the expand of the shape.
The standard design is to make two "saussages" of twigs that you will be tied to each other in the ends and be pulled apart at the center. - resembling a pair of lips. That way you will get a long slim boat that is widest at the center.
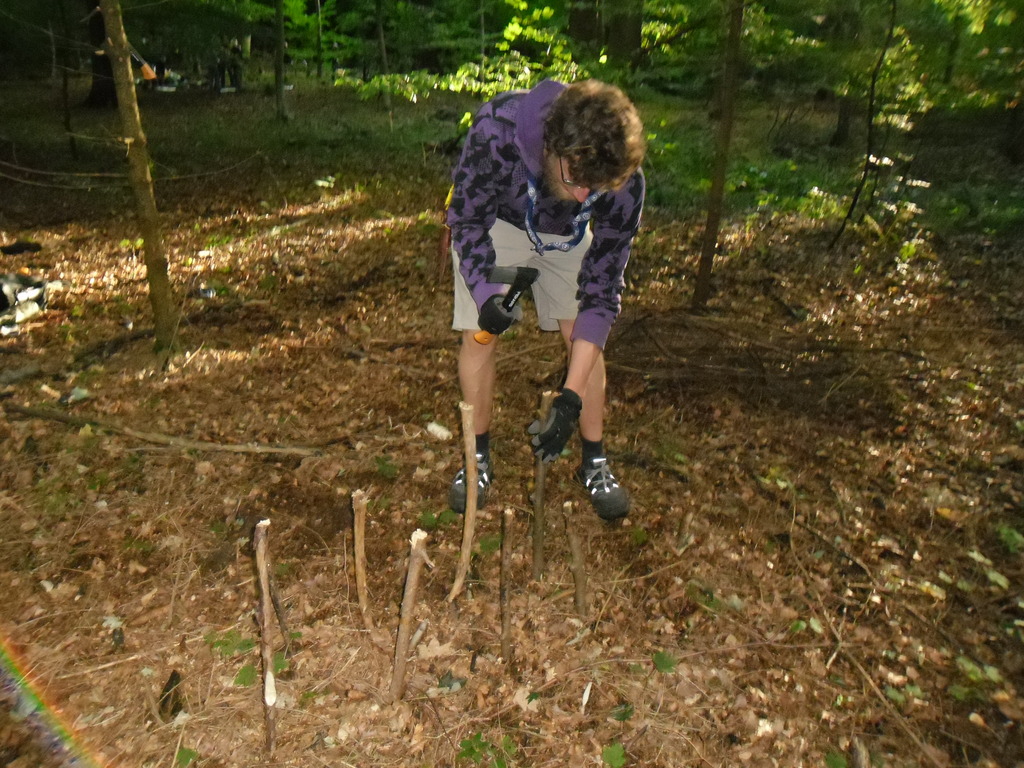 Making a frame Making a frame |
The easies way to make these saussages is to look at your tarp/groundsheet. You want your boat as long as possible, but need to be able to fold the tarp up around the ends. Therefore, measuring on the longest side of the tarp (or you can use the diagonal if you have a small groundsheet like us), you saussages should be 2/3 of the length
First make a frame for making the saussages. It simply consists of straight branches firmly inserted into the ground. This makes is easier to make the saussages of equal size.
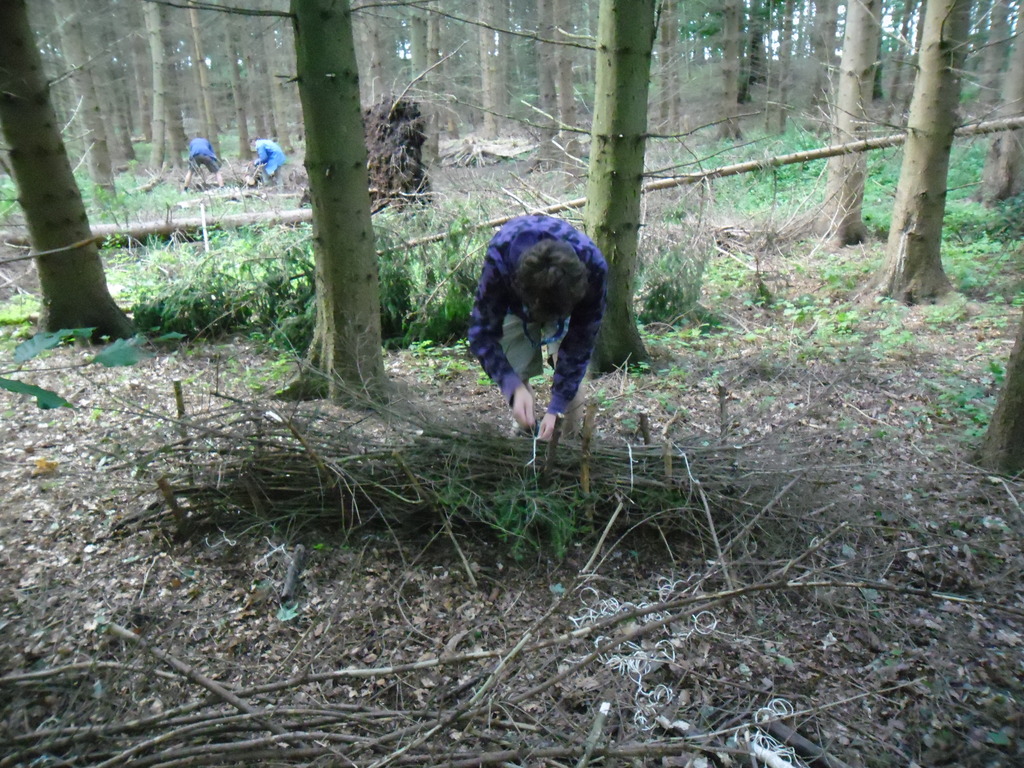
Making the saussages
Place som string in the sections between the upright braches, in the frame you just made. It is much easier to tie the strings around the twigs if you place it before you start to add the twigs. Use around two armlengths for each piece.
Thereafter gather so many twigs you need to make a saussage the size you want. This is not an exact science, so precission does not matter that much. Actually you rather want the saussage too small than too long. If it is too long it will not fit your groundsheet - and is is difficult to shorten the saussages once they are finished.
When you are done, place your two saussages on the groundsheet to check that they fit. Thereafter you should make a small skeleton that will be placed in between the two saussages that will be tied together in the ends. You will now get a solid bottom that at the same time keeps the sides from falling in on you.
Now tie the ends together, making sure the skeleton is firmly seated in the bottom of the saussages. This might require a little strength, but be carefull not to break too many of the twigs.
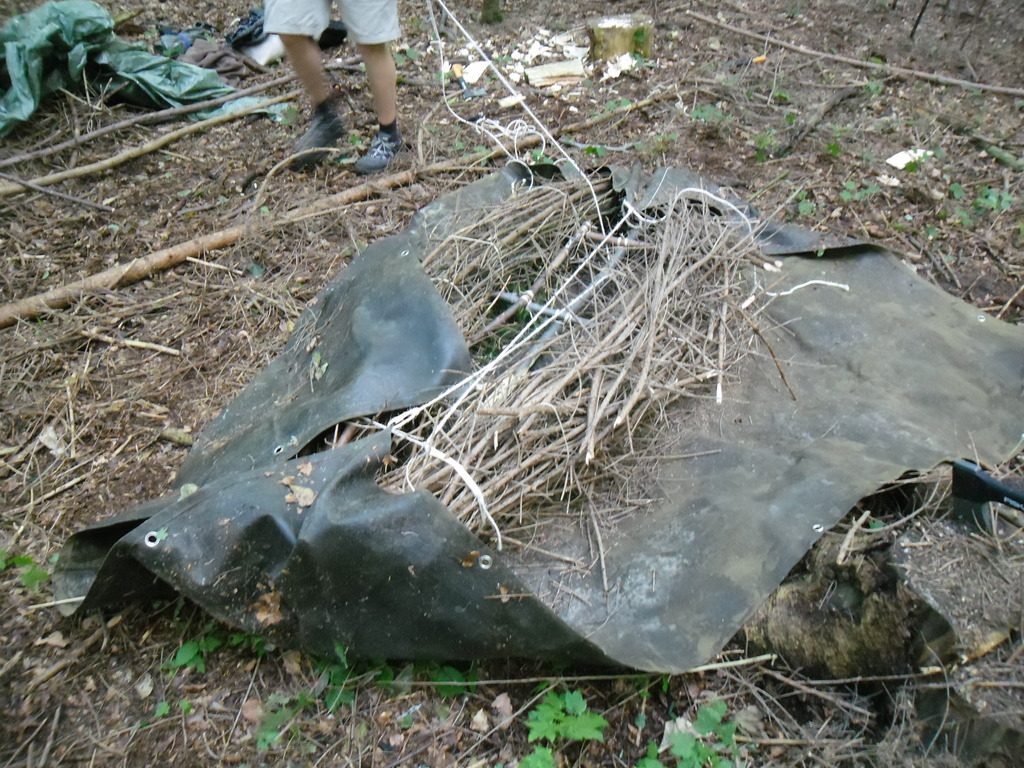
Next we need to fasten the groundsheet. It is best done by placing the raft on the groundsheet and first folding up the ends, thereafter the sides. All holes in the groundsheets are fastened with rope in the centerbranch of the skeleton.
**IMPORTANT: These boats DOES sometime sink, and it is therefore paramount to make a "quickrelease" in one end (meaning a slipknot) so you can empty the boat quickly. The easiest way of emptying a boat is to get it on dry land ... but if you do not have a quickrelease it is simply too heavy to lift **
 Wrapping the saussage Wrapping the saussage |
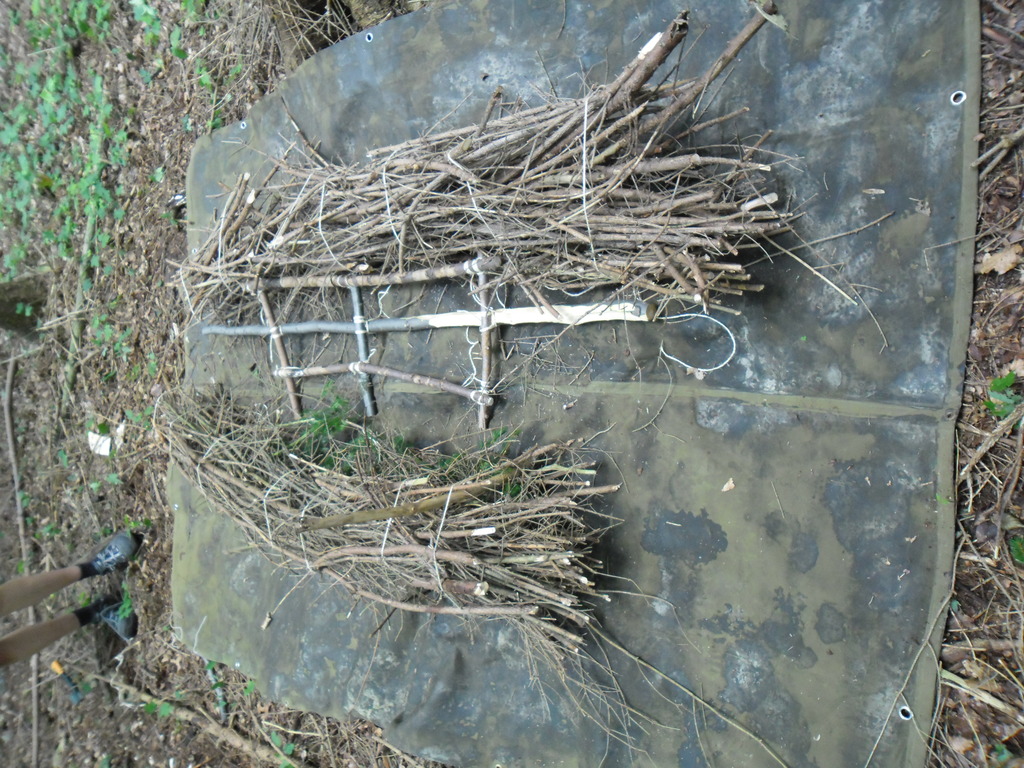 Saussages and skeleton Saussages and skeleton |
 Checking the size Checking the size |
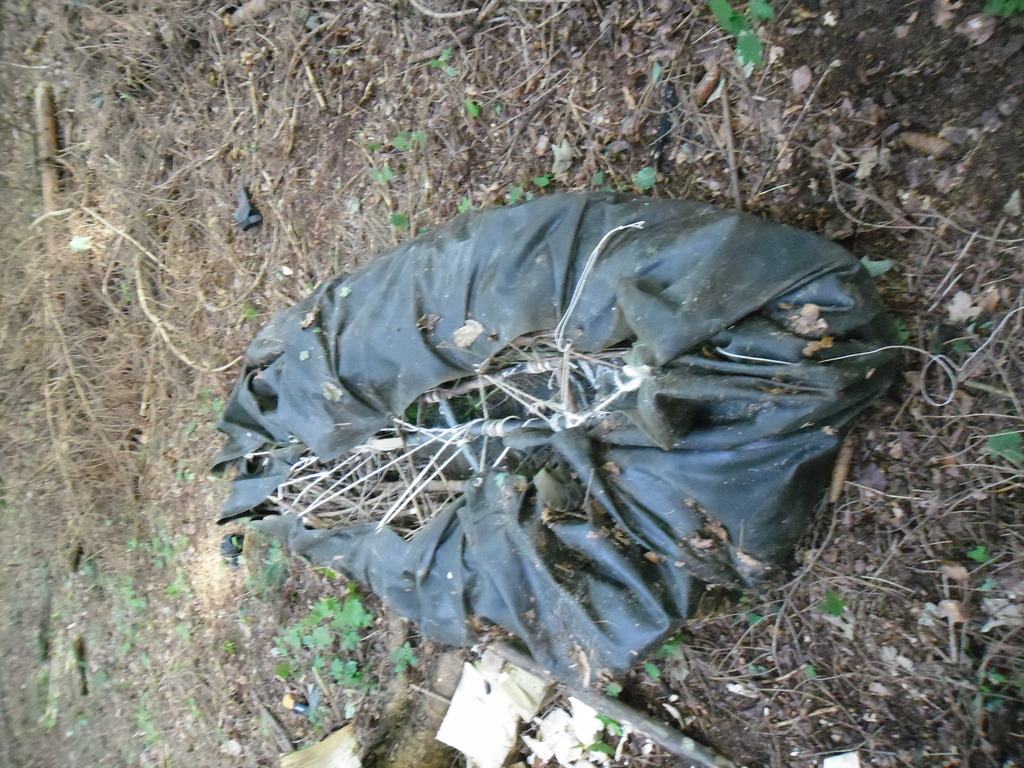 Wraped and ready Wraped and ready |
Making the paddle and finishing up
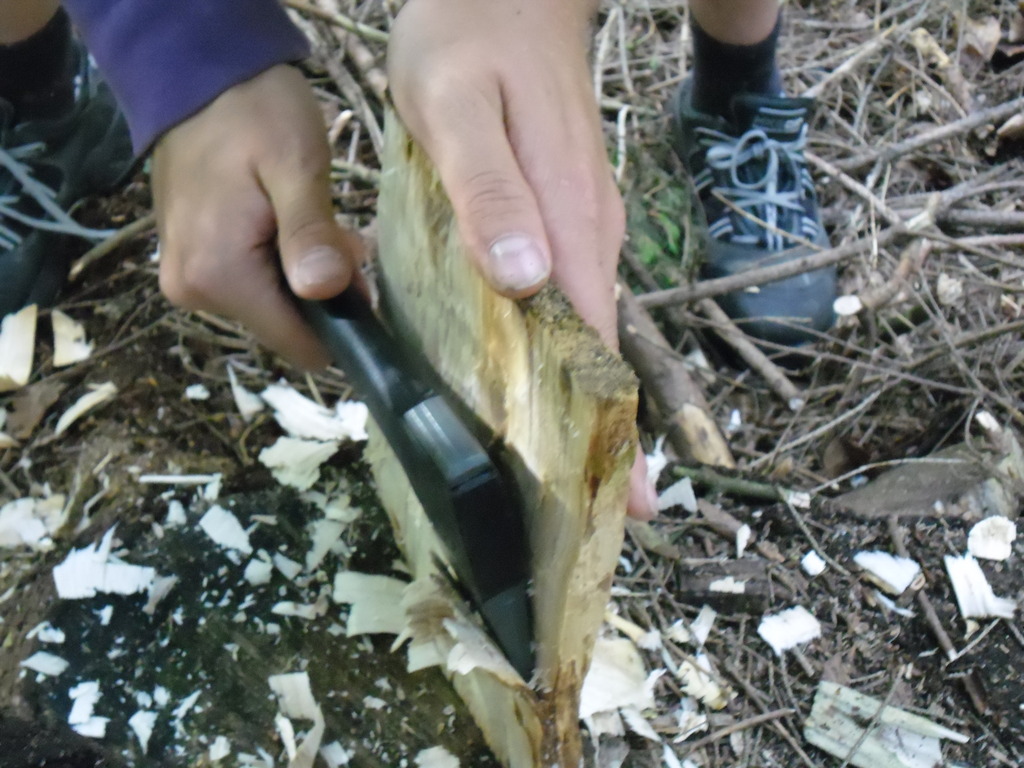 Paddle plate Paddle plate |
Now, the paddle has to be made. The difference between a paddle and an oar is that a paddle has plates in each end and an oar only in one. You do not want to make an oar. if you did, you would have to shift it from side to side when sailing wasting a lot of energy.
Well, the way to make it is simply to cleave a wooden block, 25 cm in diameter and make 4 thin plates/boards from it. You will need a very small axe to get it thin enough. The plates has to be as thin as 8mm thick. Much thicker and the paddle will become too heavy.
 Square Lashing Square Lashing |
 Angled friction plates Angled friction plates |
After finishing the four boards, find a young tree with a diameter of 3 centimers. You will use this as the paddles pole. Young trees can take a lot of punishment and you do not want your paddle to break. As a rule of thumb it should be 10 cm higher than yourself.
Mount 2 boards as close together in each end as possible in each end. the two boards will form the frictionplate together. There should be around 25-30 degrees between the frictionplates in each end. This makes the paddle much more stable, and easier to use. You will tie it to the pole using a simple squarelashing with two strand string (standard 3 strand will probably be a little too thick).
Well, thats it... dump the raft in the water and have a go :)
Testing and evaluation
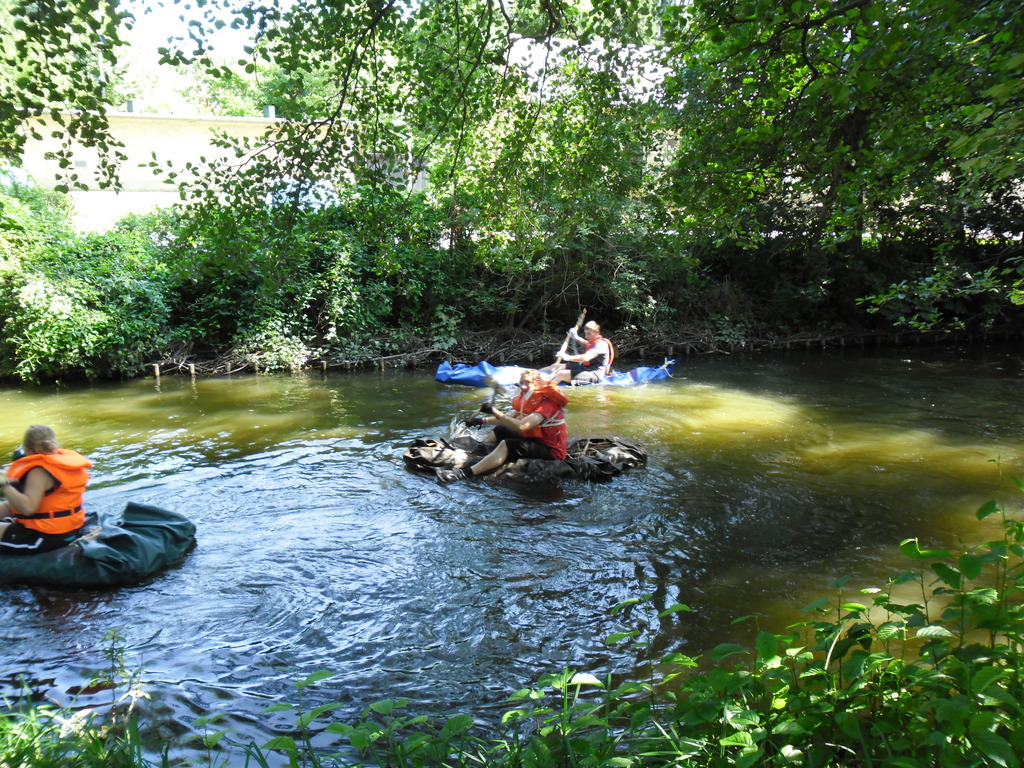 Raft floats Raft floats |
I am goint to call this a partical succes. We DID complete the race and in fair time, but sank twice during the attempt. This was due to a design flaw of ours. The construction above is identical to those we use when using modern tarps which is not limited by a certain size - and is usually longer and thinner than the one we made. Being limited by the size of the groundsheet, we had problems getting enough lift as we could not get the raft long enough.
 Old, prefered shape Old, prefered shape |
Looking at some old scouting books (Spejderlex), they surgest making a donut shape instead. We have often wondered why as a longer slimmer boat would be preferable. But it seems that this is why. If you have a 3:4 groundsheet, it is the best way of getting all the lift you can out of it.
The waxed groundsheet has way more friction against the water than a modern tarp, but that was to be expected. It felt completely waterproof, and the drops of water that was in the boat before we sank first time was probably due to spillage from the paddle.
That being said, it was quite fun to try - and it is quite cool that is is possible to sail on a groundsheet from a 50 year old tent.
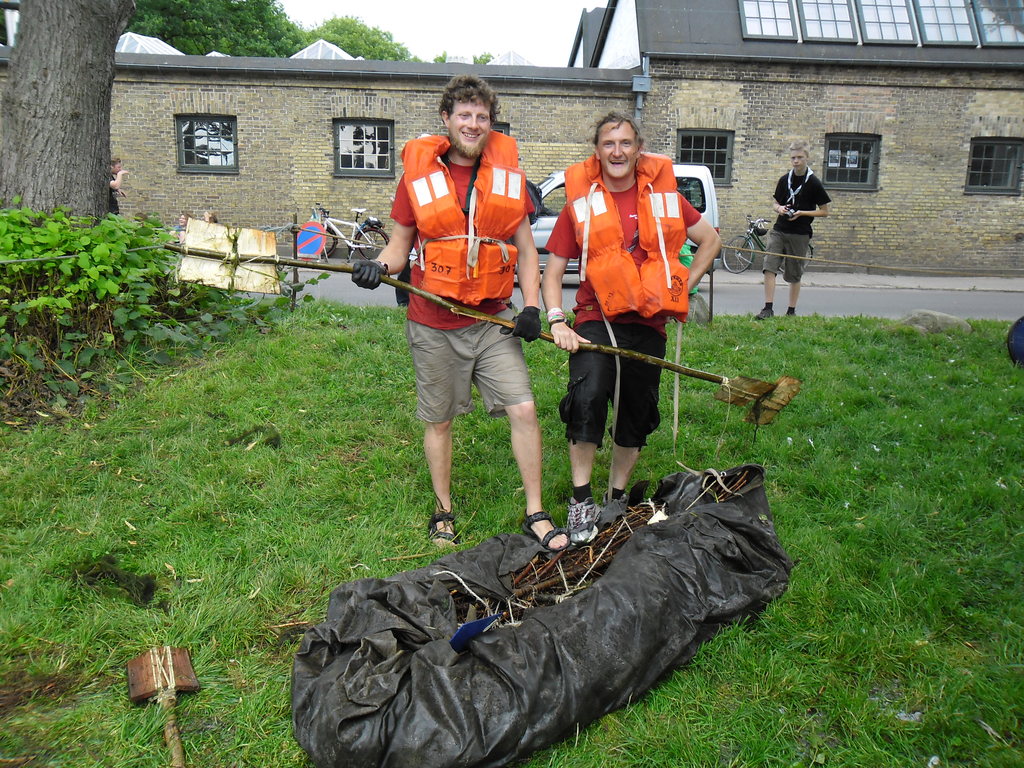 At the finishing line At the finishing line |
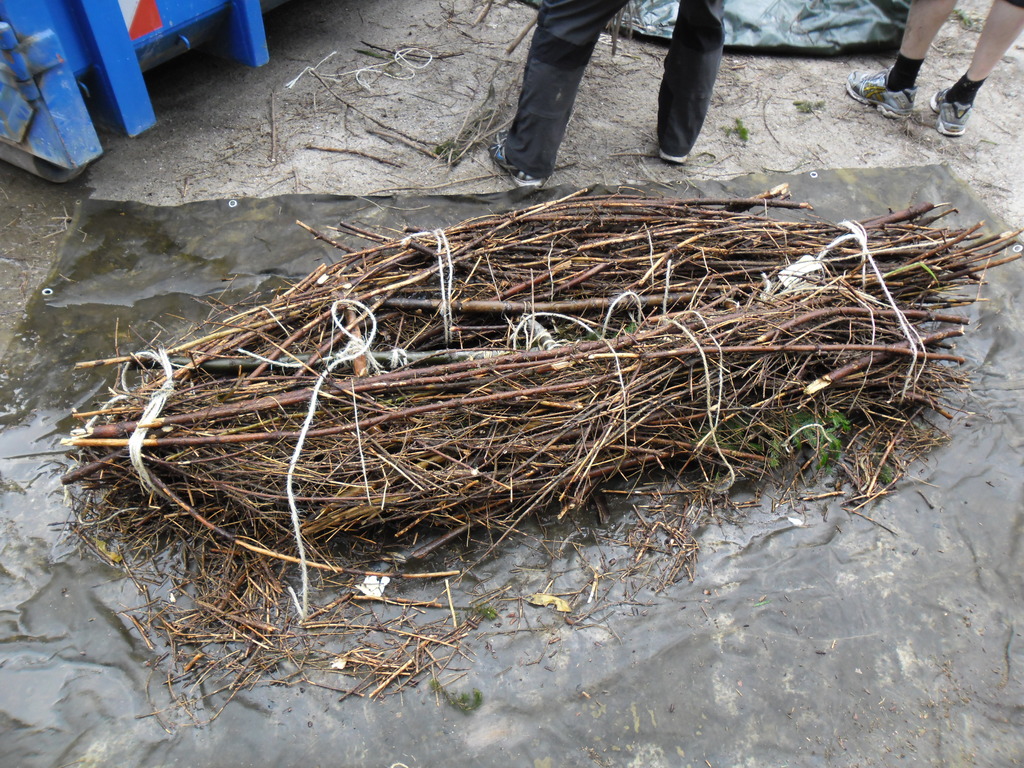 Raft skeleton Raft skeleton |
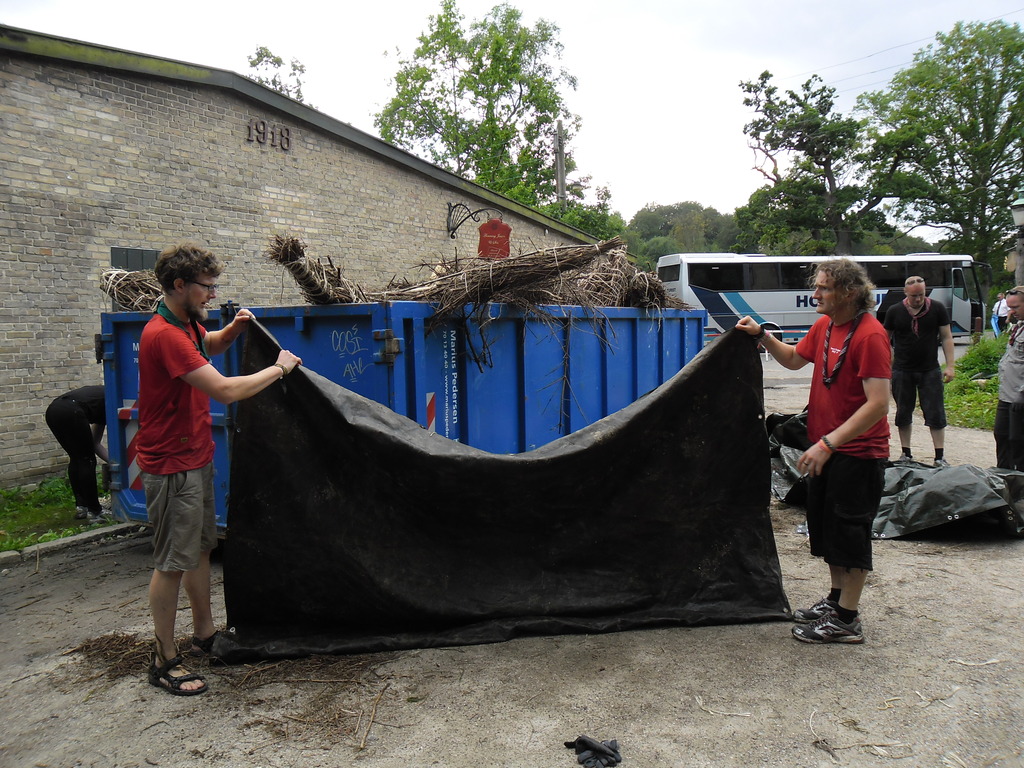 Inspecting groundsheet Inspecting groundsheet |